
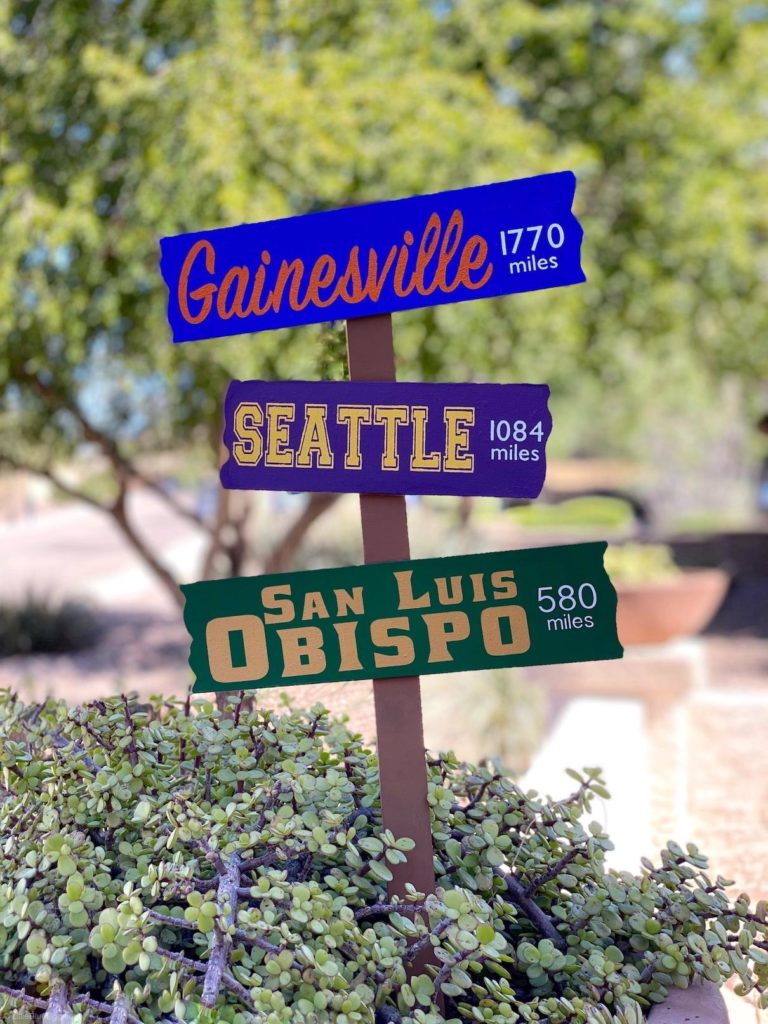
A mini mileage sign was a fun craft to show just how far (or near) you are to your favorite places. For us, this meant where we went or are going to go (Class of 2020 in the house!) to college. Cute decoration for the yard as well.
Mileage Sign Supplies
- Premade yard sign (I got mine from Dollar Tree but I’ve also seen something similar at Target’s Dollar Spot)
- Sandpaper
- Acrylic paint
- Mini paint roller
- Stencil brush (the one I use, but these look great too)
- Stencil (I cut mine from a Cricut with vinyl)
- Painters tape
- Spray Finish
Mileage Sign Instructions:
Step 1
Sand, sand and then sand again. The sign from the Dollar Tree had glitter on it, so I did my best. Wipe down with a damp cloth to remove any dust.
Step 2
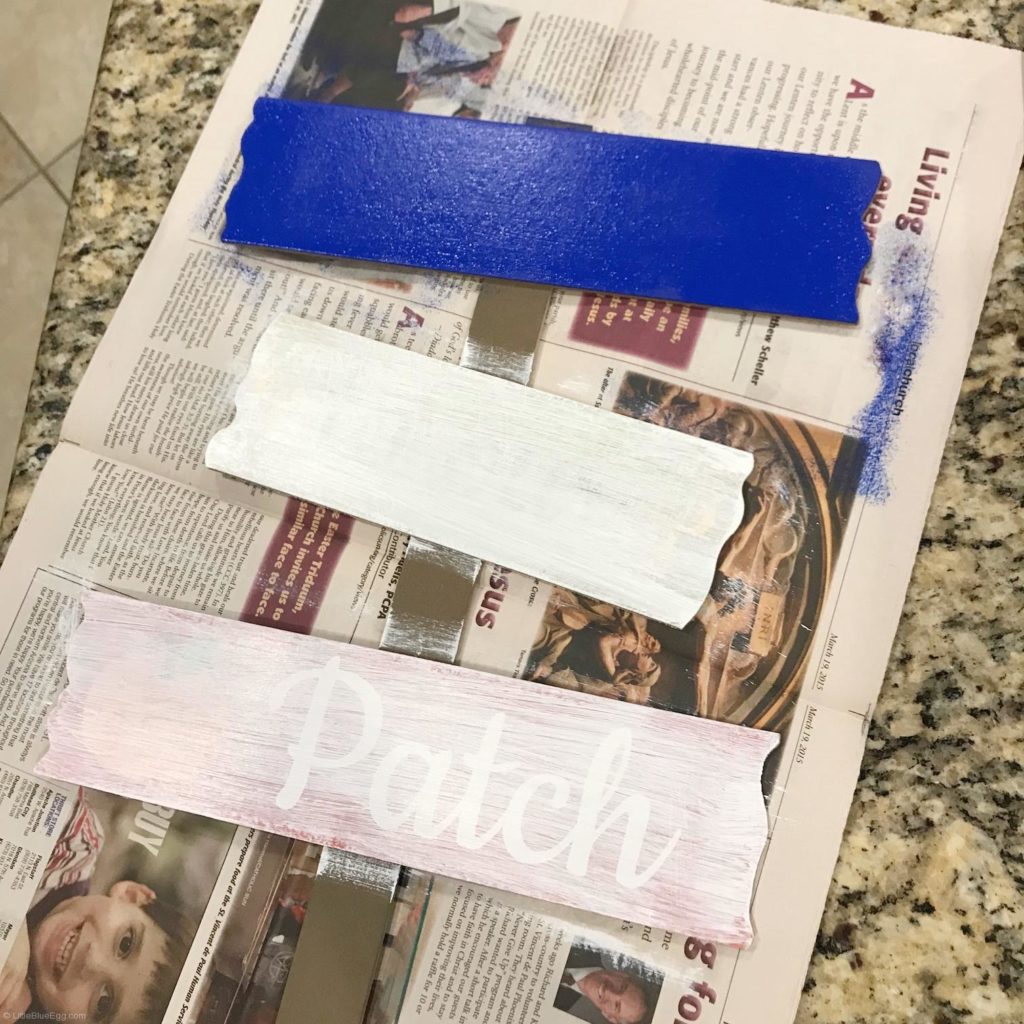
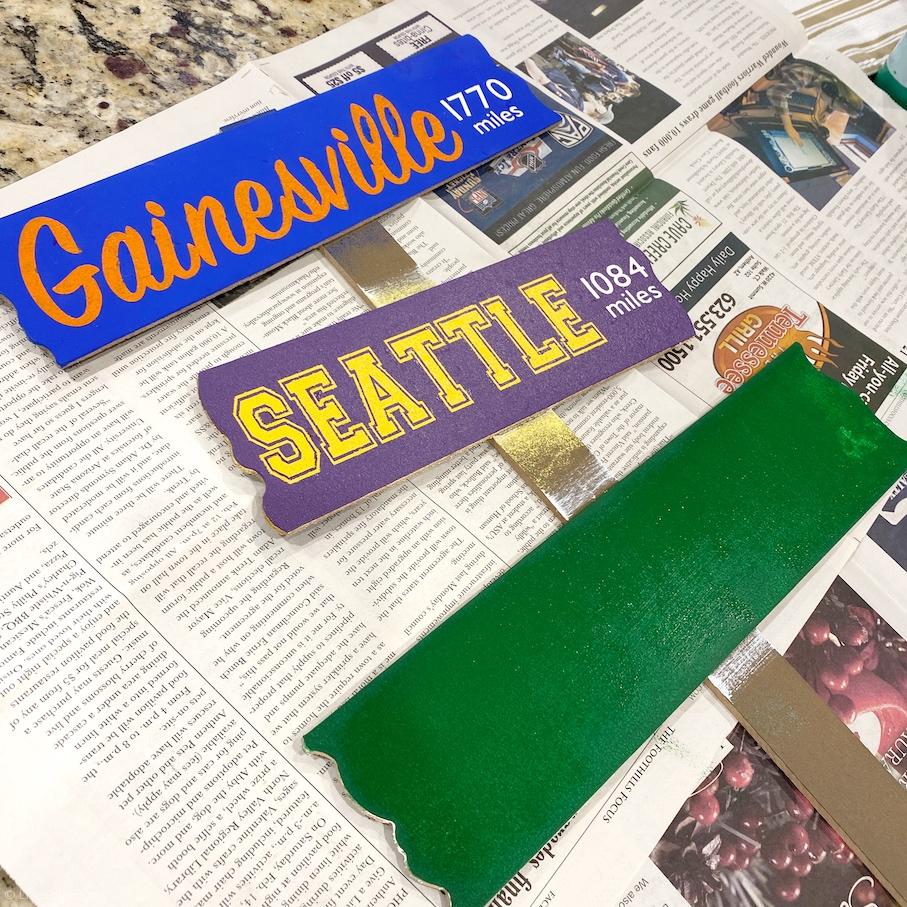
Paint background color. I did indeed do this with many coats. In our case, I used the darker of the school colors in an effort to cover up as much of the premade sign as possible. If you made your own sign from scraps of wood – this step would be a breeze.
Step 3
Create a stencil (or hand paint if you have that skill, I certainly do not). I used my Cricut to cut the city names out of vinyl.
Here is a great Cricut video tutorial about using fonts in Design Space.
Step 4
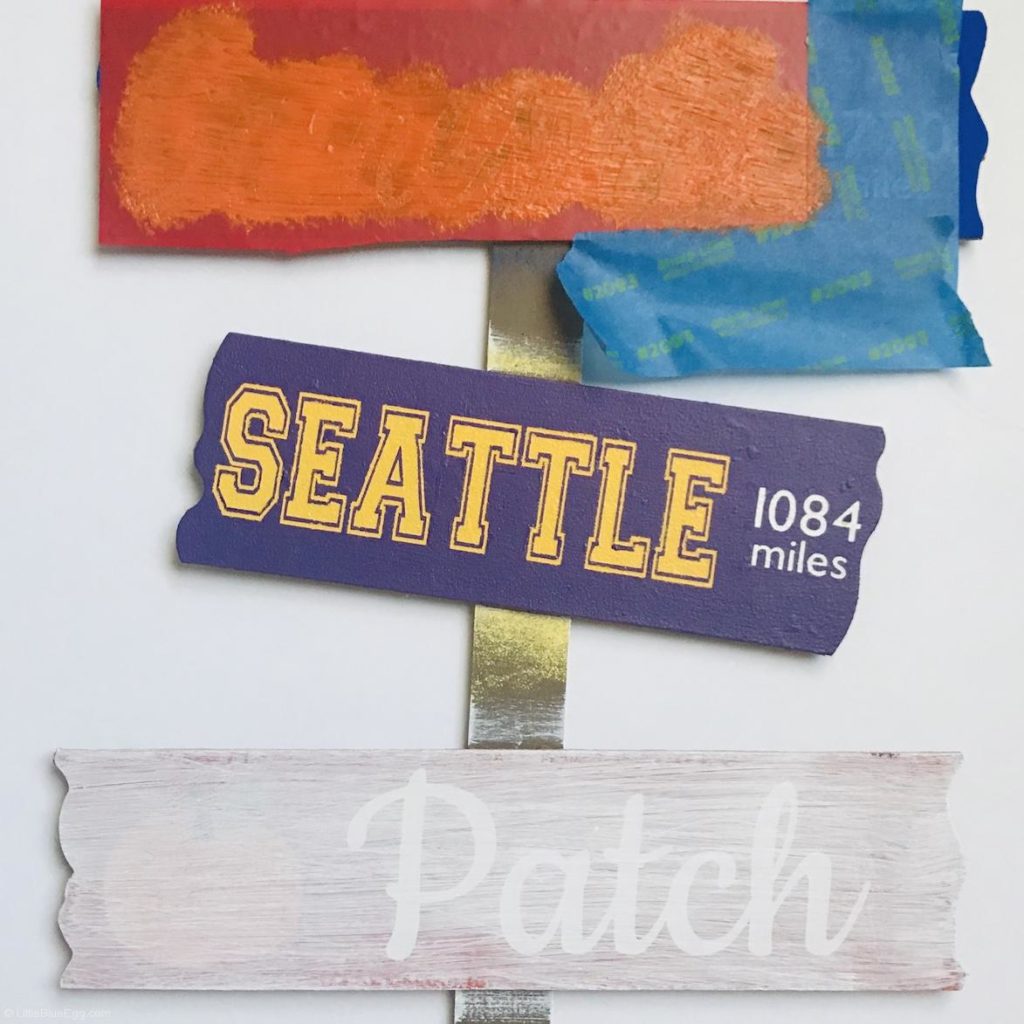
Time to use the stencil, a little nerve-racking, but fun. Be sure the vinyl is really adhered or use painter’s tape on a plastic stencil so there will be no movement. Like other stenciling projects, less paint the better.
Step 5
I just searched online for the mileage between our current hometown and the college towns. Making the mileage all the same color really made the numbers stand out.
Step 6
Spray a couple of coats of a finishing spray to help make the sign last. I don’t intend on keeping mine outside much as we live in the desert but it is a fun decoration to add to your house or yard.
Go Gators! Go Huskies! and now Go Mustangs!
Got a grad? or need a grad gift? check out these fun ideas:
*affiliate links included