
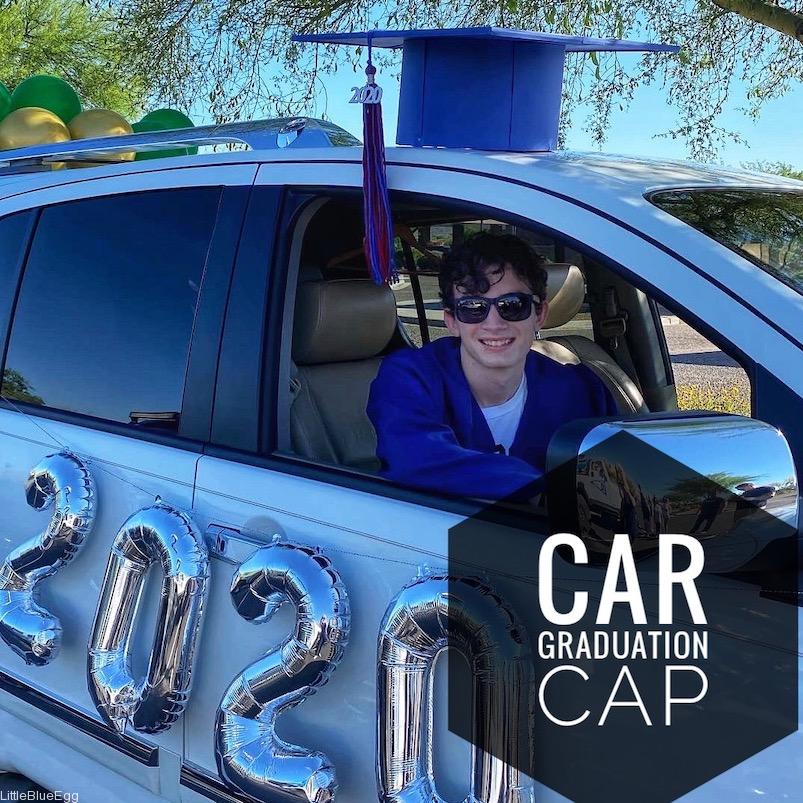
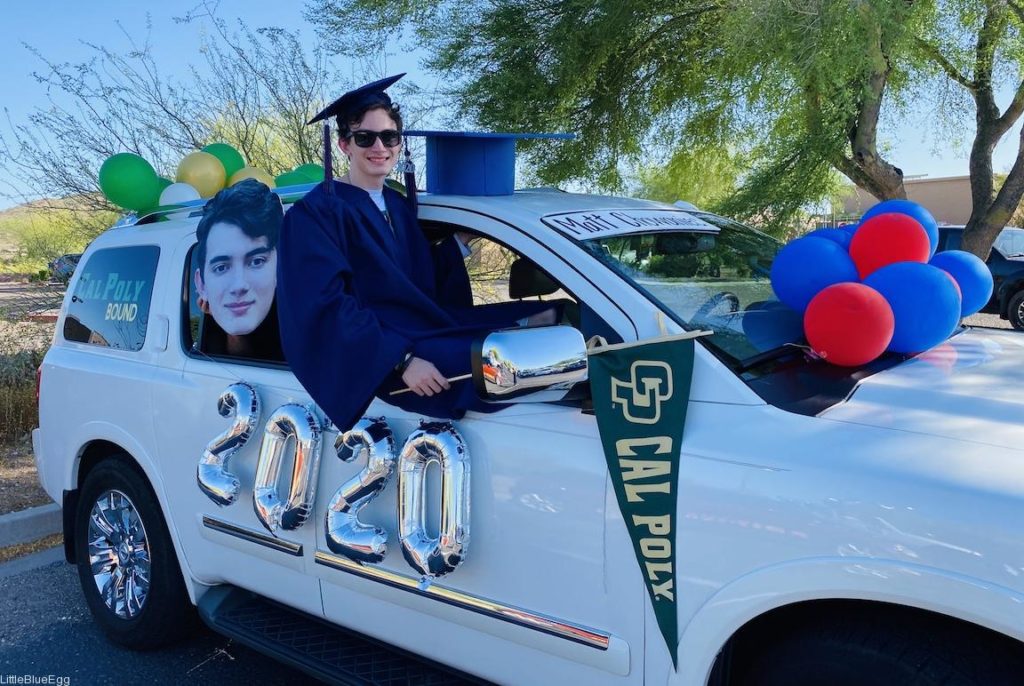
Every high school senior needs an oversized graduation cap on their car, right? Perfect for parades or just a general fun decoration to surprise your senior.
Graduation Cap Supplies
- Foam board
- Poster board
- Cardstock
- Adhesive (glue, spray glue, double-sided tape) for card stock
- Packing tape
- Utility knife
- Self-healing mat (I like my oversized mat)
- Yarn in school colors
- Wire (I used soldering wire)
- Fishing line
Step 1 – Cut
Cut foam board (20 in x 20 in) and poster board (39 in length x 9 in height). I used a utility knife and a self-healing mat with a straight edge.
Step 2 – Glue
Before you glue cardstock to the top of the foam board, score and fold the long edge a 1/2 inch.
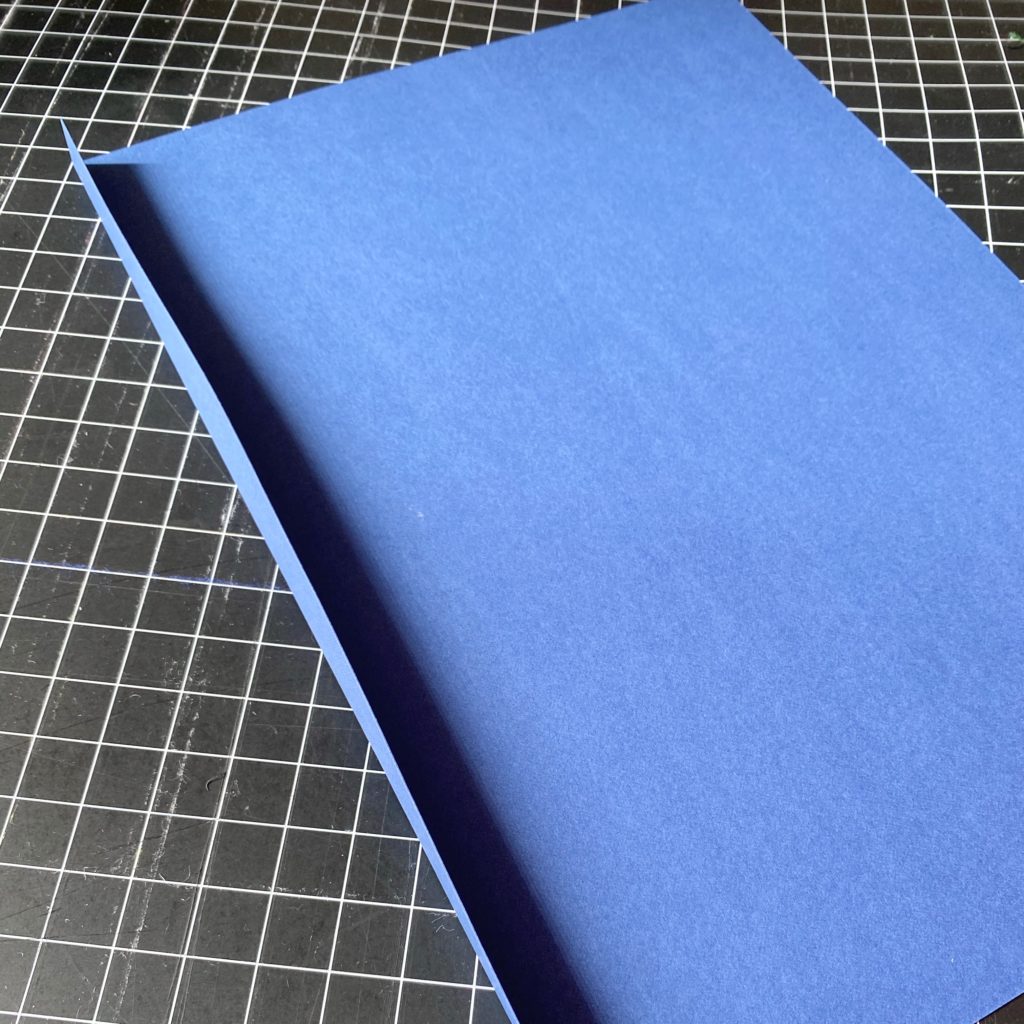
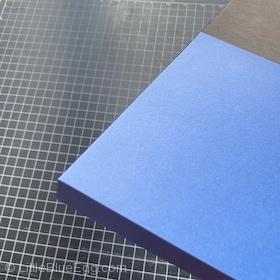
This will allow for the covering of the sides of the foam board. Glue the card stock with the folded edges first, then fill in with other sheets to cover.
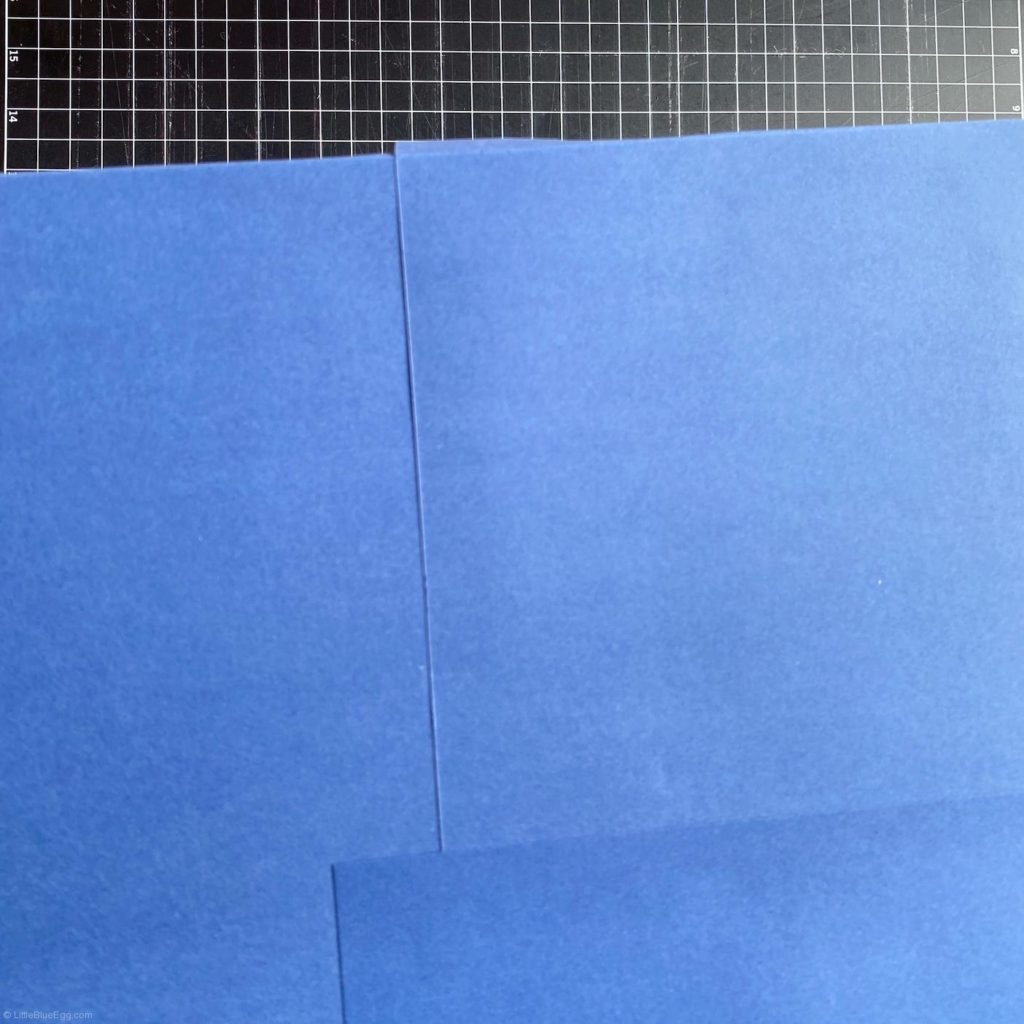
Took me 8 pieces of card stock for the top. The good news is you can overlap and it will look fine. Repeat gluing card stock to the underside.
Step 3 – Make the Tassel
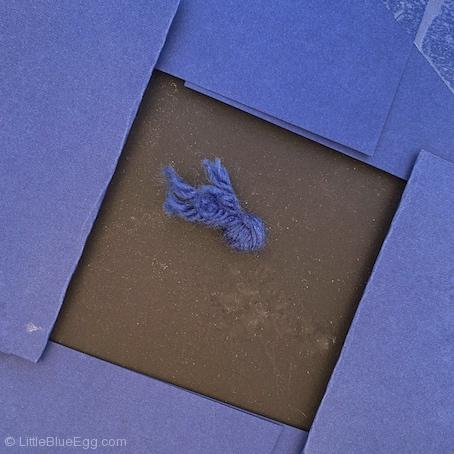
Cut 17 (7 of each color + 3 of one color for the yarn to hang the tassel) pieces of yarn 36 inches. Take 14 of the pieces and fold in half. Wrap about an inch down with wire.
I think the year is optional. We used a 3D printer to make the 2020 but you could also print and run through a laminator, tying onto the wire with another small piece of wire.
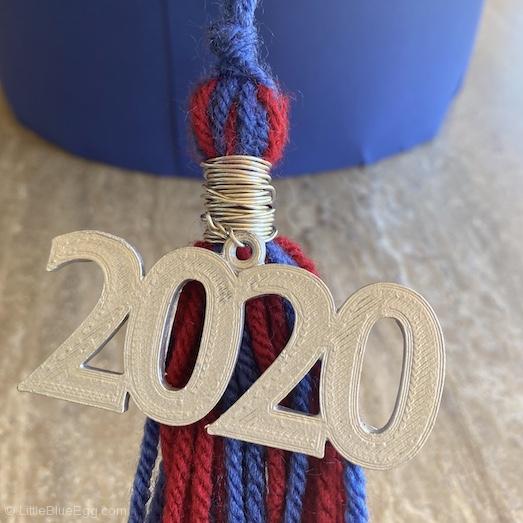
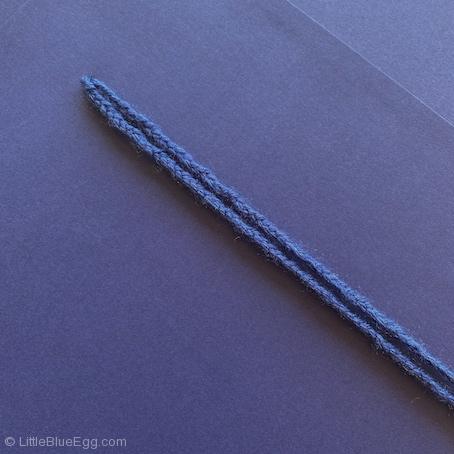
With the remaining 3 pieces of yarn, I braided them together and ran through the loop at the top of the tassel where you folded the yarn strips in half. Don’t knot the ends just yet.
Step 4 – Cap/Mortar Board Underside
Take the poster board and make a circle with approximately 1 inch overlap. Secure with glue or tape. Make cuts around the top, approximately 1 inch down, to make tabs. Bend the tabs into the center of the poster board circle.

Attach to the mortarboard with packing tape. Because of the cap overlap, this doesn’t have to be perfect, it just needs to stay on. Glue card stock over the poster board to match the top of the cap. Cardstock can either line up perfectly with the bottom edge or you can do the same notching to make tabs to wrap the edges.
Step 5 – Add Tassel
Create a small hole in the center of the top of the graduation cap with the utility knife. Feed the end of the tassel through the hole and knot on the other side big enough so the ends don’t slip through the hole.
Step 6 – Attach to Car
We tried a couple of different ways but went with a fishing line fed through a hole on each side of the cap and around the ceiling of the car.
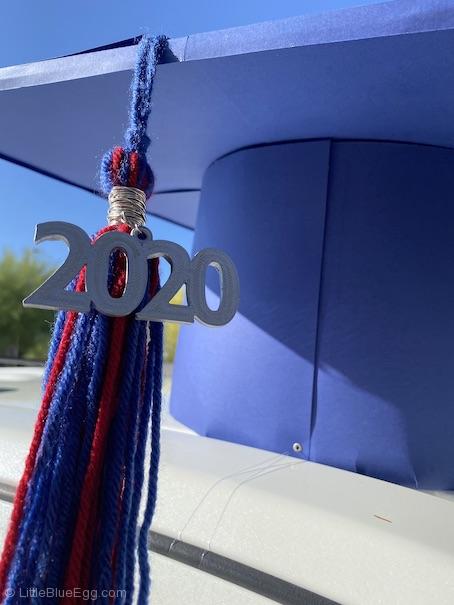
Congratulations to the Class of 2020! Maybe not the end of high school as you imagined but memorable all the same.


What size card stock? I’m assuming 12×12.
I believe I used 8.5 x 11 but that’s only because it is what I had on hand. Certainly 12 x 12 would be less seams to see.
Made this for tomorrow’s 2021 HS graduation car parade. The thorough and detailed instructions made it simple to replicate. Came out fantastic! Thank you for sharing!
Congratulations to you and your graduate! Such a big milestone. Glad I could help with the parade decorations.
Awesome thanks for sharing! Making this in 2021!
Awesome – love it . I want to make one but i don’t think I can
Super cute!