
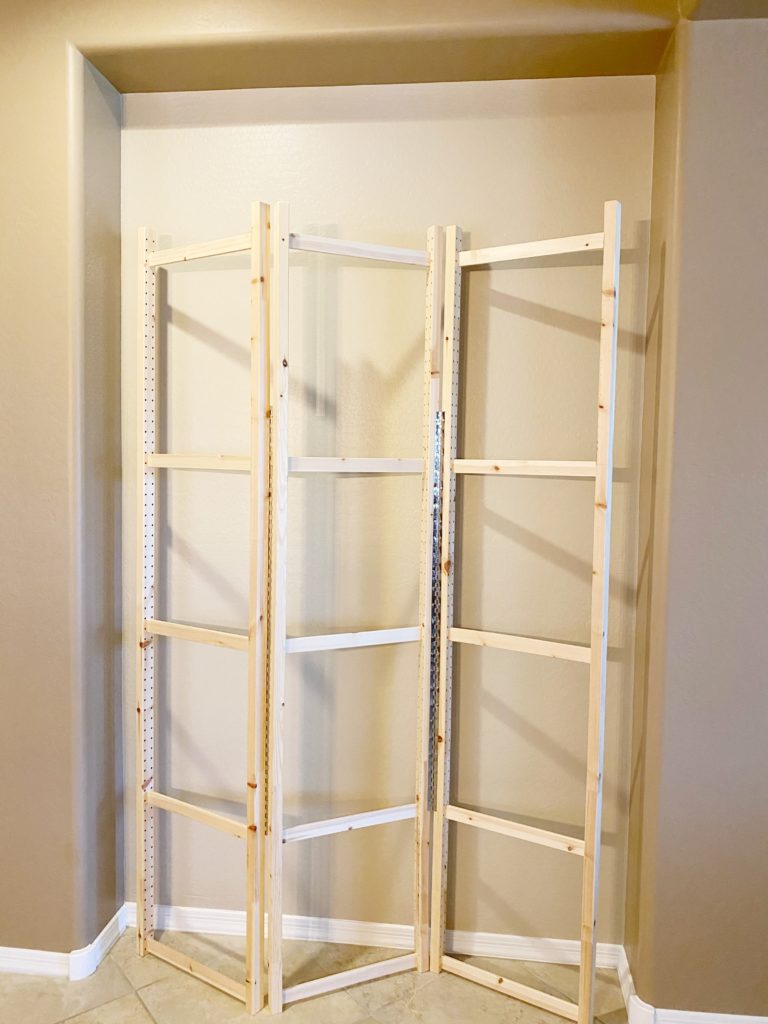
I love it when milestone parties are decorated with photos, don’t you? A big display of photos clipped on string lights across a display screen was what I had in mind but I just couldn’t find one (at least a reasonable price). Thank goodness for IKEA and a power drill.
The final product:
Display Screen Supplies
- 3 Shelving units
- 2 Piano hinges
- Power drill (we have this one but any drill will do)
Step 1 – Screw Hinge on 1 Unit
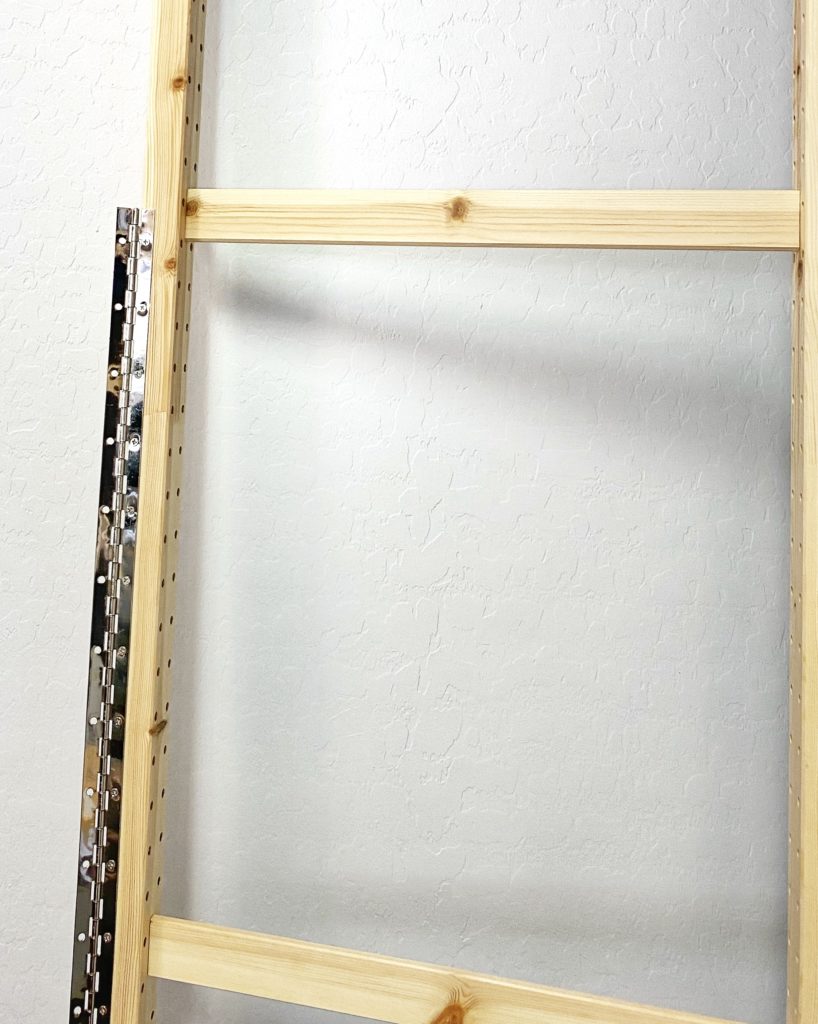
Drill pilot holes for the hinge on one side of a shelving unit. Screw hinge to one side.
Step 2 – Screw Other Side of Hinge
Line up another shelving unit (be sure both units are facing the same way top to bottom). Drill pilot holes and screw the two shelving units together.
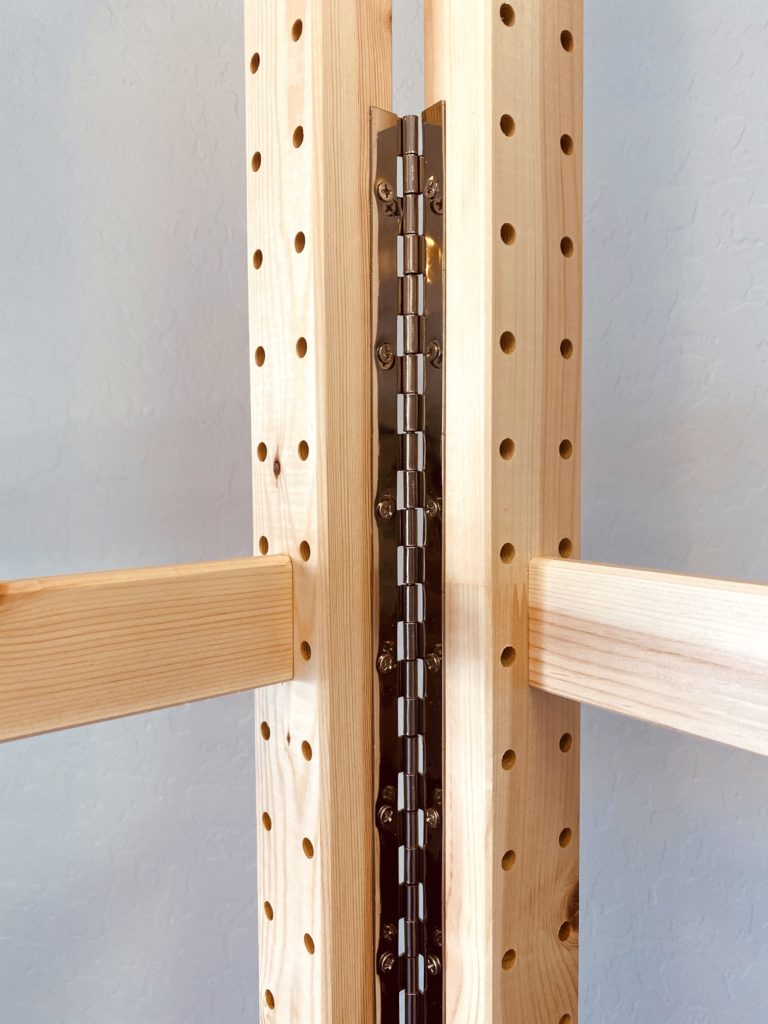
Tip: Worth it to have an extra set of hands to hold the shelves steady.
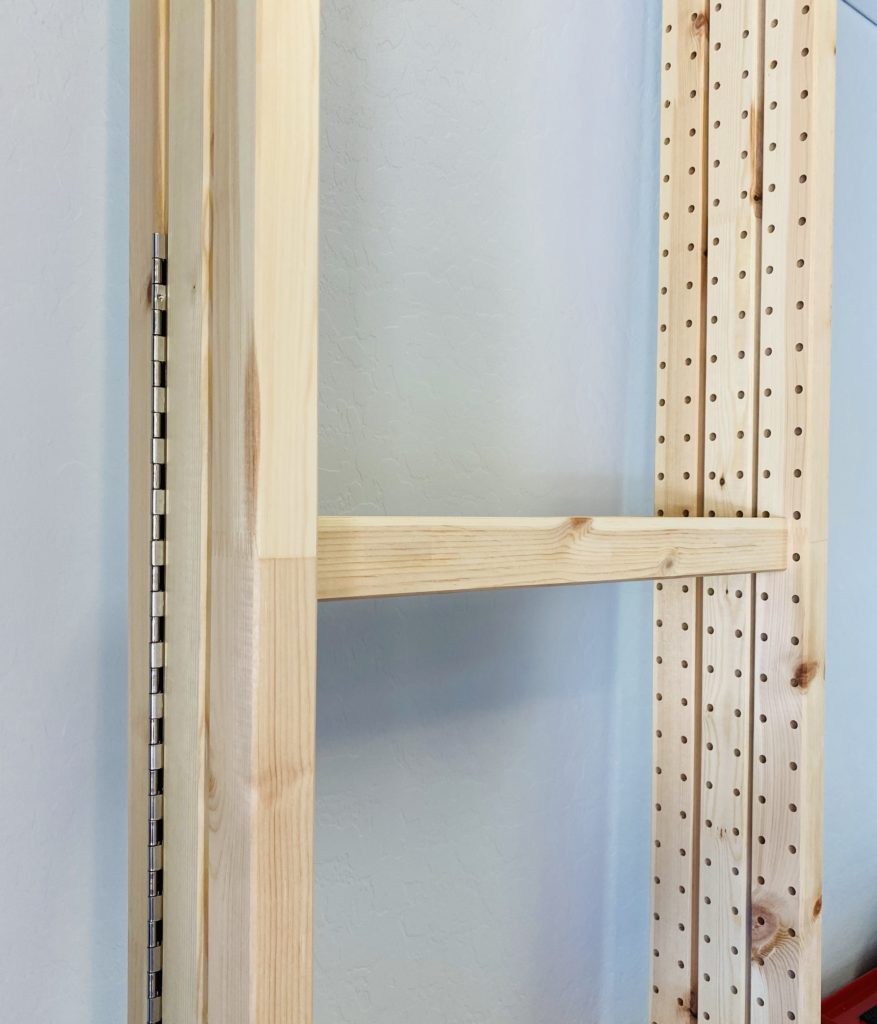
Step 3 – Add 2nd Hinge
Close the hinge on the 2 shelves you just screwed together. Position 2nd hinge on one of the units so the shelving units’ hinge open in the opposite direction. You want the shelves to hinge in a Z shape for stability.
Repeat step 1.
Step 4 – Add 3rd Shelving Unit
Screw the third shelving unit to the shelving unit with hinges on either side. Double-check the hinges are moving in opposite directions. Trust me.
That’s it, the screen is complete. Easy to open and stable. The best part, you can close the screen to store and it doesn’t take up too much space.
Step 5: Decorate your Display Screen!
Now comes the fun part, how to decorate. I chose to cover each section with oversized crepe paper rolls but you could use just about anything.
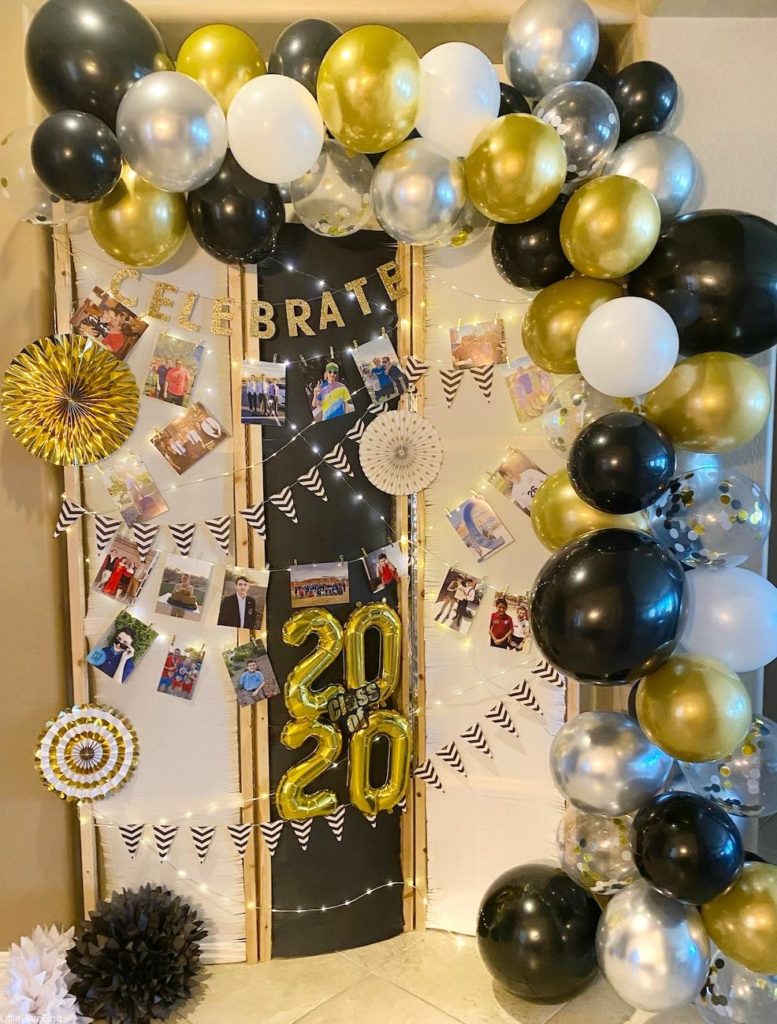
Check out the Graduation Photo Display post for a list of products I used. Enjoy, your next set of party guests will love the display.

