Have you noticed all the wood bead garlands on social media lately? Just me? Seems like they are the new standard home accessory. After a quick search, looks like you can spend lots of money depending on the size of the wood beads and length of garland. I decided to try to make myself. Easy enough. But now where do I put it? Bookcase? Coffee table?

Wood Bead Garland Supplies
- Wood beads (I used 30mm – slightly over 1 inch in size)
- Twine (Amazon: natural color and black or Home Depot: natural)
- White Paint (optional)
- Scissors (my favorite large scissors)
- Tape
- Wood skewer
Step 1 – Make A Tassles
Take a 3×5 index card or piece of cardboard and wrap it with twine 25-30 times.

Remove from the card gently and cut one of the looped ends. Use a second piece of twine and wrap around the twine approx 1 inch from the top loop. I tucked the end under to stay in place. I’m sure a dab of glue would also do the trick. Repeat.
Here’s a great video from JDog & T if you need more visuals for making the tassels.
If you want more of a white bead vs. natural wood, whitewash your beads before Step 2. How to for Painting beads video.
Step 2 – Start Garland
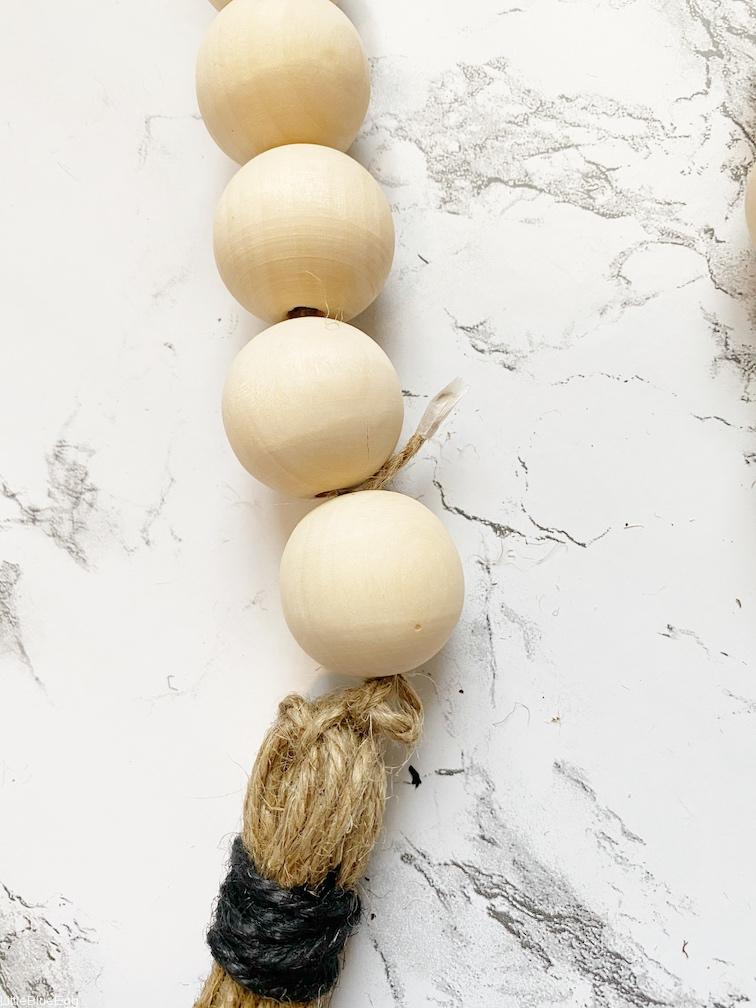
Take one end of the twine and put through the top loop of the tassel. Tie a couple of times. This knot creates the start/end of the wood beads. Pull so you have 1.5-2 inches of overlap with the twine on the other side.

Cut twine to how long you want the garland. Remember to add the additional length of the second tassel. My tassels were 4 inches each and the total garland (with tassels) was approximately 36 inches.
Step 3 – String the Beads
String the first wood bead. Be sure both the end of the twine and main part of the twine thread through the bead. The cut end of the twine should come out the top and have enough to go about halfway into the second bead.
Helpful hints: Tape the end of the twine. Makes threading the wood beads much easier. Use a skewer to poke the end of the twine up through the first and last 2 beads.
Use a skewer to poke the end of the twine up through the second bead.

Keep threading beads until you have hit your desired length. I used 25 beads.
Step 4 – Add the Second Tassel
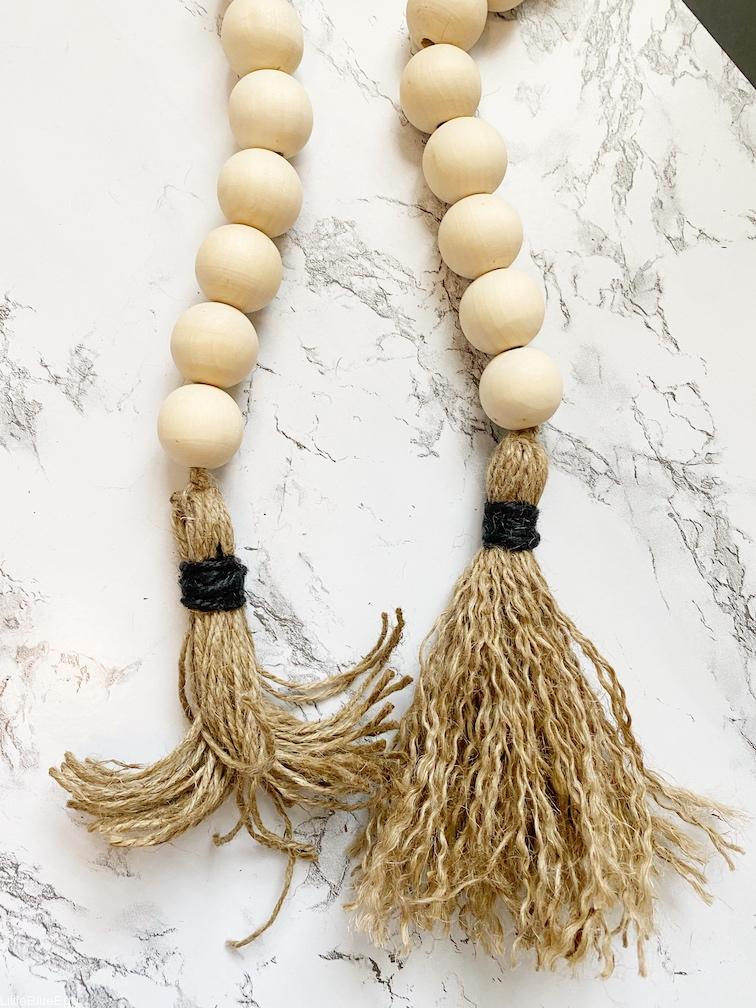
Add the second tassel similar to the first. I chose to unwind each piece of twine for a fuller tassel. Trim the tassel to the desired length.

You want to have some extra space between the beads so when you coil the garland the beads can move.
Looks great, right? I was able to get two 3 foot garlands from one pack of beads. But honestly, you can just buy a similar garland on Amazon if you are short for time.
