Having seen the super cute script sun hats all over social media, I needed one. That is, until I saw the price tag. SO, off to figure out how to DIY I went.
Actually the script isn’t that difficult, just a wee bit time-consuming. A bunch of us decided to DIY our own script sun hats for a birthday cabana pool day….well, let’s say we learned some lessons. Happy to share.
Script Sun Hat Supplies: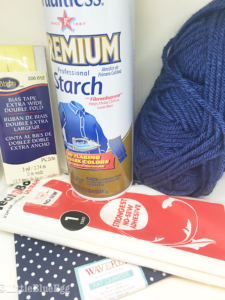
- Wide-brimmed hat
- Something for the phrase:
Parachute cord or sequined rope (cute!)+Hot glue gun OR Yarn & large-eyed needle - A fat quarter of fabric (optional) Can be found in the quilting section of a fabric store. 18in. x 21in.
- No-Sew Iron-On fabric adhesive sheets (optional)
- Double Fold Extra Wide Bias Tape (optional)
- Spray starch
HINT 1
Think of a short phrase. Seriously. The fewer words the better…for your fingers sake alone.

HINT 2.
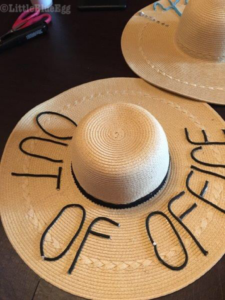
Use capital letters if you are using a hot glue gun and use script letters if you are stitching. Found this one out the hard way. Look how great my friend’s Out Of Office turned out? I guarantee you, she was done faster than the rest of us. Felt like my ‘Need a ‘Rita’ took 10x longer.
HINT 3.
Notice how tight the weave of the hat for an easier time with the needle, if you choose to stitch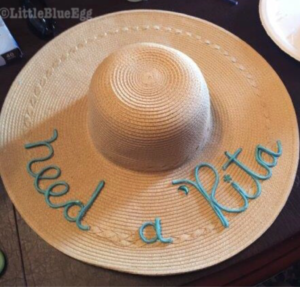
HINT 4.
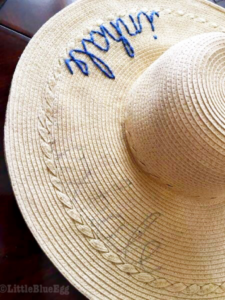
I wrote out my phrase with pencil first. Seemed to really help me center the words (and was easy to erase when I messed up).
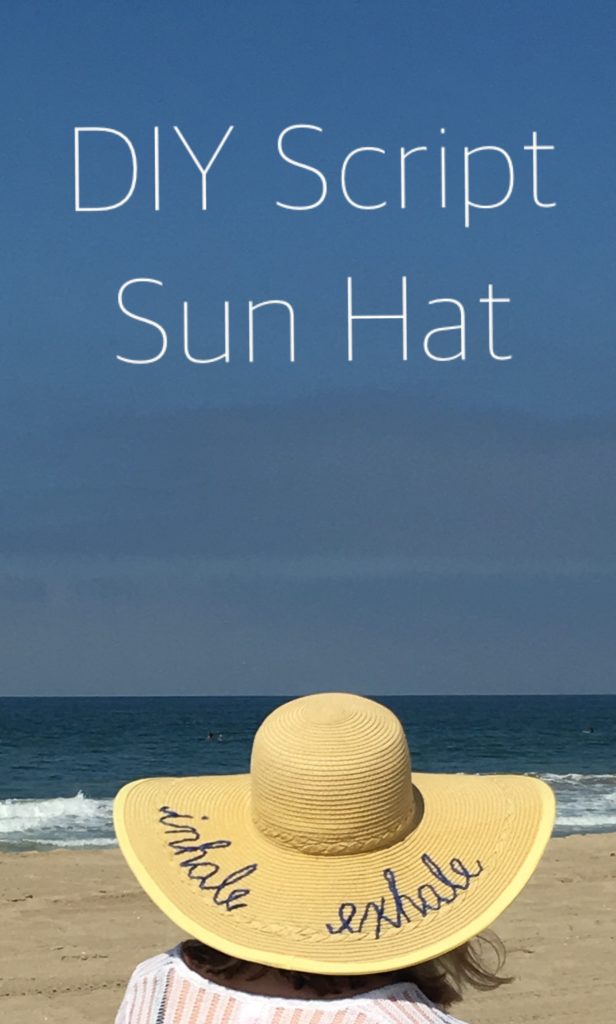
You may have noticed ‘my’ hat has switched from ‘need a rita’ to ‘inhale exhale’. Well, remember when I said we learned a few things??
We used an amazing amount of hot glue but it was no match for the Arizona 115° heat. You can see below how the R in my ‘Rita was lifting.
And the hat was really floppy, really, as in I was having a hard time seeing. Yikes! You should be fine outside of Arizona, in a more normal summer temperature. But if you are concerned, try the stitching the words option.
I did some searching and found more than one person used spray starch to stiffen the brim. Totally worked! Not 100%, but so much better. Just spray and iron. I can do that.
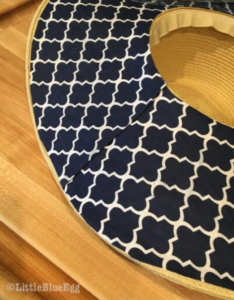
As it often does, searching led to more searching. I came across the idea of lining the hat. Love it. Maybe it will make the brim even more straight. Here are the step-by-step instructions and a few other cute ideas.
HINT 5.
Chances are your lining will not be perfect. Its ok. Just look for a pattern that if the fabric overlaps on itself it isn’t super obvious. Be sure to smooth out the fabric so where it might overlap is at the back of the hat. Then for sure, no one will see it.
Here’s the kicker, you don’t even need to be that great at cutting out the lining. I had intended to edge by hot gluing down bias tape, but was pleasantly surprised that edged or not, it still looked ok.
HINT 6.
Not so much of a hint, more of a learn from me. Make sure you get double folded bias tape. The single folded is too thin and your fabric may show through, defeating the purpose of cleaning up the edges. So hot glue the bias tape on both sides, or don’t, your hat will still look great!
I’m happy to say I wore my hat again at the ocean and it didn’t flop into my eyes. It might need another spray/iron of starch before the next time I wear, but it worked out well.

