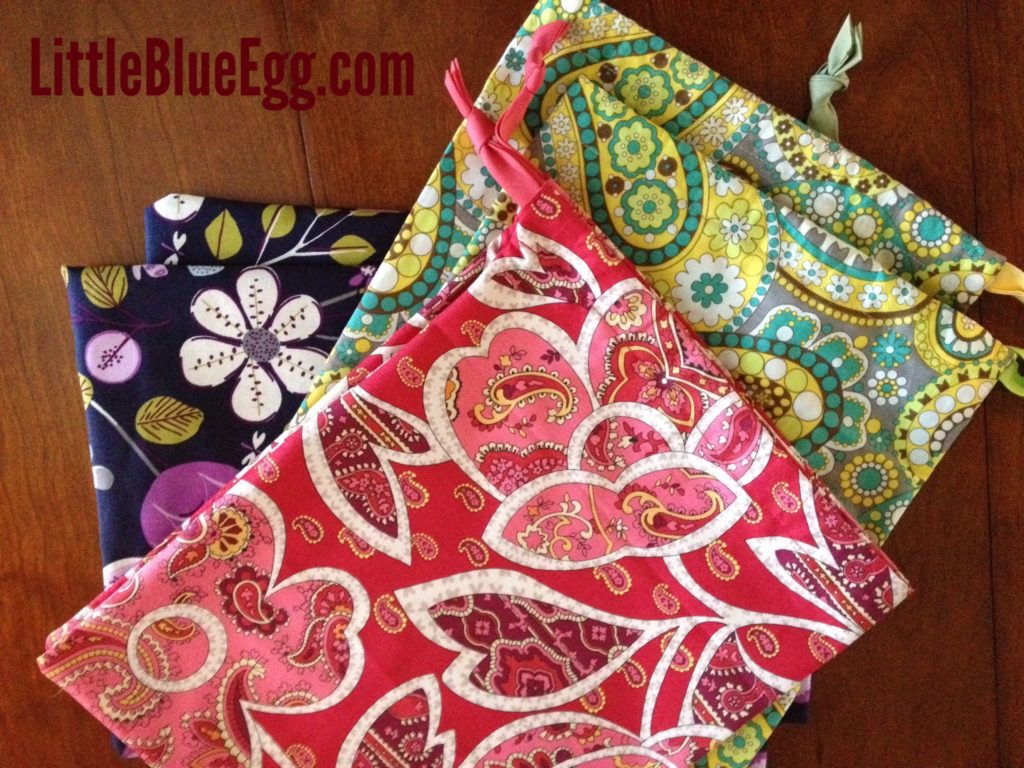
Why would someone need a fabric bag for their shoes? Well, I’ll tell you. One, my patent leather heels stay unmarked with all the other %#@#%@ I pack and two, my luggage is organized and cute all at the same time. Really, number two is why I started making these bags….and then my sister-in-law needed some. She’ll appreciate organized (and cute) luggage, I thought and my mom had to have some too, right?

But at the end of the day, I really only can sew in a straight line and barely that straight. I have a sewing machine, so that’s good. But if you are a master sewer (or sew more than 2x a year) this post is probably not for you.
I did learn some tricks that I want to pass on. The biggest one is to use dinner napkins. Yep, napkins! No need for the fabric store and ordering the right amount of fabric (I always end up with too much). Plus, you only have to hem one side! The rest are already serged for you. Brilliant. I used Vera Bradley napkins that measured 20 1/2″ x 20 1/2″.
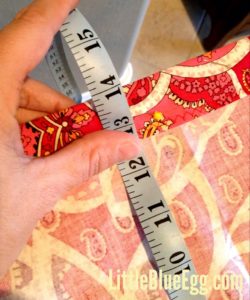
Step 1: Cut the napkin down to 15″ on one side

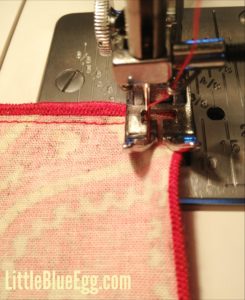
Step 2: Hem the cut side

Step 3: Fold over the hemmed side so you are now at 14″. I know it’s a pain, but the more you measure at this step, the better. Your final product will line up nicely. Sew as close to your hem stitching as possible. You now have a channel for your rope or ribbon to go through to close the bag.

Step 4: Pin right sides together. Out of the 8 bags I’ve made so far, only one wasn’t perfectly square. This is the step to help right that wrong if you find yourself in that situation. Start sewing just under the channel, closely to the edge.

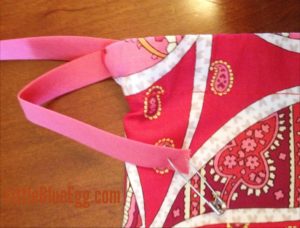
Step 5: Thread ribbon, bias tape or rope through the channel. Tie off the ends and you are done!

If you want more detailed instructions, Martha Stewart’s Encyclopedia of Sewing has a step-by-step.


I have these and love them! A must have for suitcase – protects clothing nicely
LOVE LOVE My shoe bag!